Monday, December 31, 2012

Button flowers

I love buttons! There is something so fun about them all the different sizes, shapes, colors ect.. I have lots of buttons! Especially white ones, so today I thought I would make something for my sister to keep at work and thought a little flower bouquet of buttons would be cute. They are very easy to make and I think look adorable.


Saturday, December 29, 2012

MistleToes

For the holiday season Jess & I got crafty! Couldn't post this until after Christmas. Jess had the great idea to make cute plates for "the grands". It was super easy and fun - even Ry enjoyed it.

Materials:
White Dinner Plates
Sharper Makers
Acrylic Glass Paint
Nail polish Remover
Sponge brushes
Oven


Tuesday, December 18, 2012

English Muffin Bread

I love homemade bread. The problem is that I really don't like making homemade bread.  Usually I solve this problem by just enjoying my mom or my sister Christy's homemade bread. They make some delicious ones!  (Seriously - you should check my sister's blog for some ideas).  But, I had a friend who had recently had a baby and instead of bringing a meal, I wanted to bring some muffins, scones and breads to put in her freezer so she'd have something easy to grab for breakfast.  (When I had Riley, people brought us dinners, which is a huge help and I was so thankful, but I never knew what to do for breakfast when I didn't have time/was too tired/decided to shower instead of eat/etc. and found myself eating some strange things for breakfast.) I felt bad trying to get my mom or sister to make some breads for me to bring my friend so I decided to just suck it up and do it myself. 

The part of bread making that I don't like is all the steps. I get a little intimidated using yeast. I don't like waiting for dough to rise. I get confused with where I am in the process. Thankfully I found this recipe for English Muffin Bread. It was super easy, cheap to make, only used one bowl and made 4 loaves. 

I found the recipe on The One Good Thing by Jillee Blog.  If you want to see pictures of what it looks like, head on over to her blog. Be sure to grease the pans very well and don't cut it until it's completely cooled! This made 4 loaves. It has all the nooks and crannys that English muffins do (hence the name) and tastes best toasted.  It was good with jam or jelly but I liked it best with butter and honey.  Here is the recipe...


5 1/2 cups warm water
3 packages RAPID RISE yeast
(Update: You can use regular yeast, but you will need to let is rise TWICE. Once in the bowl, til it reaches the top…and then again in the pans, til it reaches the top. With the RAPID RISE you only need to let it rise once in the pans.)
2 Tablespoons salt
3 Tablespoons sugar
11 cups all purpose flour (you can use bread flour as well)
Mix altogether, then spoon into (4) well greased loaf pans.  Let rise in pans until dough reaches the top of the pans, and bake in 350 degree oven for 45 minutes or until golden brown. 
10 minutes before done, brush with melted butter. Makes 4 loaves. Bread will be moist at first. Allow to COOL COMPLETELY before cutting. Makes terrific toast.

 Enjoy!

Monday, December 17, 2012

Holiday Wreath

I decided to FINALLY get a new wreath up on my front door. I don't really have extra money to go buy a nice real pine wreath with a big read bow like I usually do, so I went the crafty way.

You will need a wreath and some yarn-i used my friend Kaits extra read yarn.

Tie a know around the wreath, and you simple wrap the yard around it keep it nice and tight.  Now i struggled hacing this HUGE ball of yarn so I broke it down into smaller chunks, which really helped
I made small little balls of yarn by wrapping it around my fingers. This made it a lot easier and faster to wrap around the circle wreath.
When I got the end of the yarn, I just tied the two ends together and continue to wrap.
Cover the entire wreath by wrapping it with yarn, you can make the wreath thicker by adding more yarn around the wreath.
I then made some green felt and velvet flowers and attached to the wreath. 
Finished product!

Monday, December 10, 2012

Roasted Veggie Tacos

I love tacos. Lately I've been trying to be more creative than the normal chicken or beef tacos. I saw a recipe for roasted vegetable tacos on a website and adapted it a bit.

I diced a summer squash, a zucchini, a red pepper and a red onion into large chunks and then tossed them in a couple tablespoons of olive oil, a large pinch of salt, 2 teaspoons of cumin and 4 cloves of minced garlic. I then put all the veggies on a baking sheet and roasted them in a 400 degree oven for about 25 minutes (until they were tender and starting to brown).

While they were roasting I mashed together an avocado, a pinch of salt and 1/2 cup plain greek yogurt until it was creamy.  (just use a fork to mix these. i tried it in the blender and it would have been much easier just to do it by hand!)

I also heated up a can of black beans on the stove.

Then I warmed up some corn tortillas in a skillet (wrap them in a clean dishtowel to keep them warm) and shredded up some monterey jack cheese.

When the veggies are done, you just assemble your tacos. A big scoop of veggies, a spoonful of black beans, a good drizzle of the avocado cream and then some of the shredded cheese.

These were SO good. I should have used more veggies because Kirk and I could have each had another taco or two!

Saturday, December 8, 2012

kids crafts

Today my niece and nephew came over and we had low key Christmas Crafts time. It was a lot of fun, especially since I wasnt feeling too good it was easy enough for me to sit and tell them what to do and they just had fun doing it!

Tissue Paper Snow Man: black construction paper, glue and tissue paper
Crumple of little bits of tissue paper to make little "balls" 

draw three circles on paper and fill it with the little crumpled up pieces of tissue paper

We added google eyes and a nose, then after i took the picture added more "snow" around the snowman
BUTTON SNOWFLAKES
Have a wide variety of white buttons!
Using three popsicle sticks and wood glue, glue the sticks together.

Using the the glue on sticks, glue on white buttons on the sticks! If you want, you can even add a little glitter.
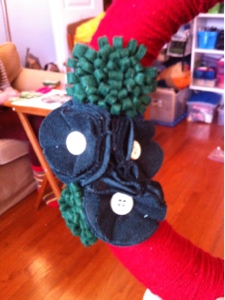
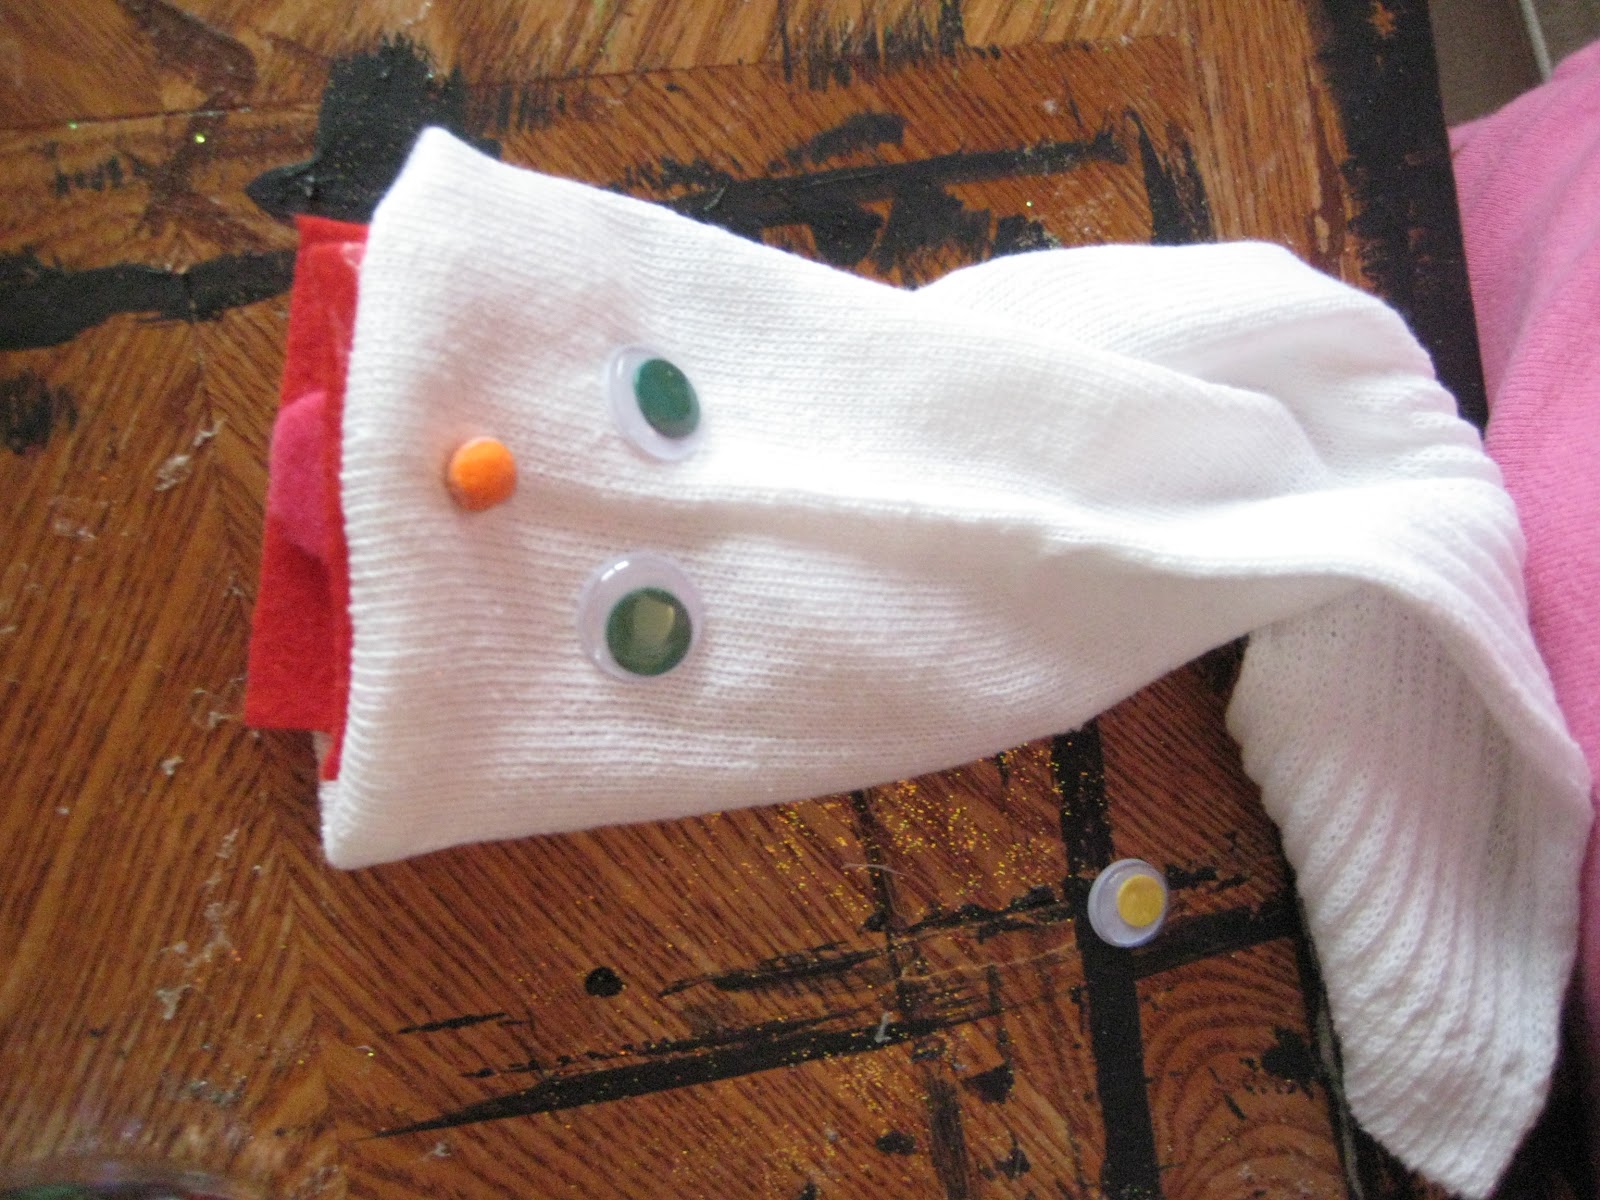
SOCK PUPPETS!
White sock, red felt, pink felt, google eyes and buttons or sequins


Thursday, November 15, 2012

Knotty Headbands

Here are some really fun and easy head bands that I have been making. I am using old tshirts to make "tshirt yarn." I got the tutorial from "You Seriously Made That" so go on over and check out the site!

Purple from a old tshirt scarf
Sparkle ribbon added to the ends to tie it off

Black & Gray from a old tshirt scarf 

Yello from a old Target Tshirt with a blue satin ribbon


cream tshirt from target with pink ribbon.

Greek Salad

I love salads.  I am totally fine with a salad for dinner. My southern meat and potatoes husband is not. According to him, a salad is fine as long as its on the side of a steak.  I've managed to find a salad or two that he likes enough to not complain when I make it for dinner.  One of those is a buffalo chicken salad because the chicken on the salad meets his meat requirement.  The other is this Greek Salad.  I found the recipe for it on the Pioneer Woman's blog and just tweaked it a little.  I'm just going to give the recipe for the dressing because I'm sure everyone can make a salad.  When I make this I usually use: romaine lettuce, tomatoes, cucumber, thinly sliced red onions, kalamata olives, some sliced pepperoncinis and sometimes throw some salami in.

To make the dressing:

Combine a 1/4 cup olive oil, 2 1/2 tablespoons red wine vinegar, 2 teaspoons sugar, 2 cloves minced garlic, about 10 kalamata olives chopped extra fine, a pinch or two of salt, a few shakes of black pepper.  Mix it together and taste it.  adjust if needed. (It's pretty much the same recipe on the Pioneer Woman's site, so she gets the credit!  i just upped the amount of sugar, olives and garlic, because i found myself always adding more to the original recipe!) I always try to make it in advance so it can sit a while before adding it to the salad.

After you dump the dressing on the salad, squeeze some fresh lemon juice over the entire thing.

This is also really good in a wrap or in a pita.

Tuesday, November 6, 2012

Recipe: Drip Beef

One of my favorite parts of cooking is making certain meals that remind me of different people.  I got this recipe for Drip Beef Sandwiches from my friend Keara who lives in Oklahoma.  Keara and I met when we both were working for YouthWorks in Minneapolis.  She's been a good friend for years.  Keara's parents own a beautiful ranch in Oklahoma and I've been there a couple times.  It is incredible!  And ranch life is so not what I'm used to.  Last time we were there, I looked out the window and Kirk and Keara were outside with a gun trying to keep a coyote away from the cattle.

If you ever need a place to take a group or want to do a hunting trip, you should look into their ranch.  It's called Spring Valley Ranch.  Click here to see their website.

Anyways, one of the times I was there, Keara made Drip Beef Sandwiches and I've loved them since then.  Even better, you make them in the crock pot, which makes life easier.

All you do for these is get a 3-4 pound roast. I use chuck roast, you can also use a rump roast.  I don't really know what the difference is between the different cuts of meat and I kinda get the heebee geebees if I think too much about my meat coming from an animal, so I just try not to think about it and get whichever is on sale.

Take the roast and trim off any extra fat.  Then take a knife and cut some slits in the meat.  I use the minced garlic that comes in the jar (normally I'm not a fan of the jarred garlic, but for this one it seems to work well). Using about 3 tablespoons of garlic, stuff a little bit of garlic into the slits you've cut in the meat.  Then put it in the crock pot.

Take a large jar of pepperoncinis and dump the liquid from the jar over the meat.  Then cut the stems off the pepperoncinis and discard.  Slice the pepperoncinis into rings and dump them over the meat. 

Cook on high for about 6-8 hours.  Pull the meat out of the crock pot and shred with 2 forks.  I then put the shredded meat back in the crock pot so it soaks up more of the juice from the pepperoncinis.

You can serve this many different ways. I usually get good rolls and melt some shredded mozzarella on them.  Keara's family eats them on rolls with french onion dip on them.  I also think they'd be good in tortillas.

Another great part of this meal is that it makes a lot!  I made this last week and only used a 2 pound roast and got 8 big sandwiches out of it. 

Enjoy!

Saturday, November 3, 2012

Apple Sauce

On Halloween Jess, Riley and I went over to my moms to be with her and to help hand out candy. While we were there we also decided to make my moms SUPER yummy applesauce. We all had a LOT of fun being together and making it. Riley liked to help stir the apple sauce but LOVED running to the door to look at the trick-or-treaters when the doorbell rang. Below are pictures from the day - I am no chef or cook by any means so don't mind unique description of words at times :)


My mom uses Macintosh apples. So the first thing you do is wash the apples and cut them in fourths.
Using a boiling pot with strainer you cook the apples until the get nice and mushy. It smells great! 
This is what the apples look like in the pot/strainer after they have been cooked. Nice and mushy. You pour out the extra water and then the apple mush gets transferred into a special pot thing with a crank.
Once the apples are mushy they get transferred into a grinding/sifter pot with a crank. You then crank all the mush through the pot into a bowl.
Cute Lil Ry sitting in a "big girl chair" helping out and eating an apple.
Riley even liked to help crank the apples through the pot. This is where a lot of time goes into. Cranking the apples is a slow process and takes some good arm muscles.
Ry couldn't resist a little finger taste test of the fresh apple sauce!
This is my mom "seasoning" the sauce. She adds brown sugar, regular sugar and cinnamon. This is where her "magic" comes into play because there is no recipe she does it by taste and what the sauce looks like.
When it is ALL done... it is VERY YUMMY!!!